

Complete guide on laying floor tiles
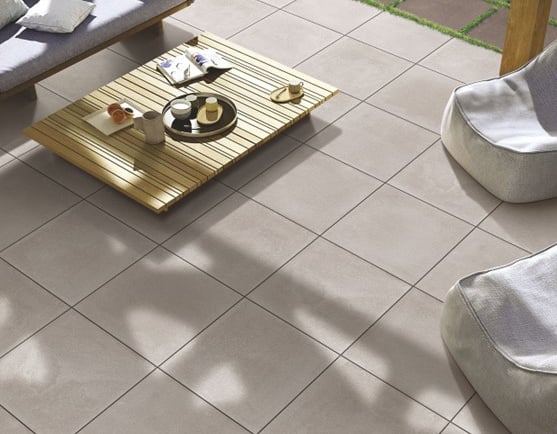
Transform your home with a porcelain tile floor: step-by-step instructions, professional advice for a flawless result.
TUTORIAL
3/6/20249 min read

Introduction
Laying floor tiles is a common operation during the construction or renovation of a home. It is a process that requires attention to detail and a good knowledge of the correct techniques to achieve a lasting, quality result. In this comprehensive guide, we will explore the materials and tools needed for laying tiles, providing useful tips for a job well done.
Materials Needed
To begin laying floor tiles, you will need the following materials:
1. Tiles: Choose the type of tile appropriate for the room where you will be laying them (e.g., porcelain for the bathroom, ceramic for the kitchen). Calculate the quantity needed carefully, including considering the waste.
2. Tile glue: use a specific glue for tile installation to ensure good adhesion to the floor.
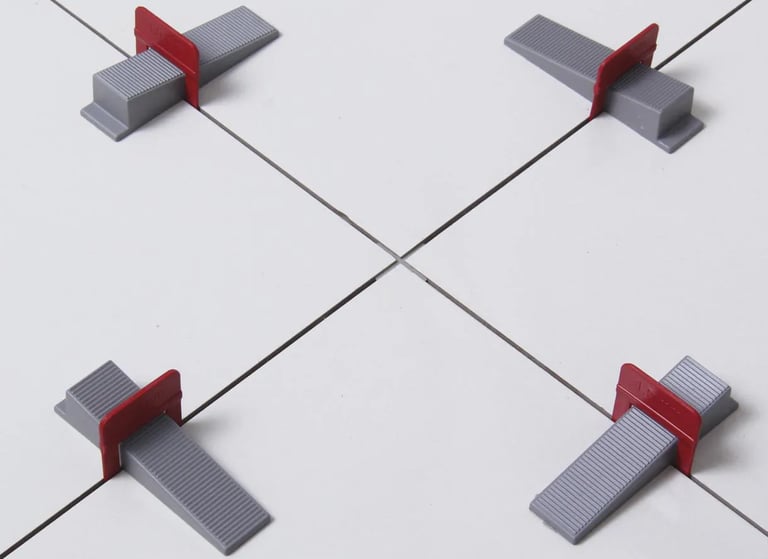
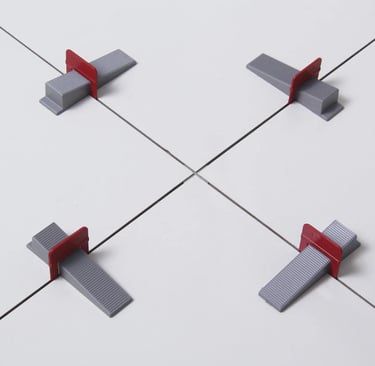
3. Levelers: levelers are useful tools for maintaining an even installation of tiles.
4. Spacing crosses: spacing crosses are used to maintain adequate spacing between tiles, ensuring an even layout.
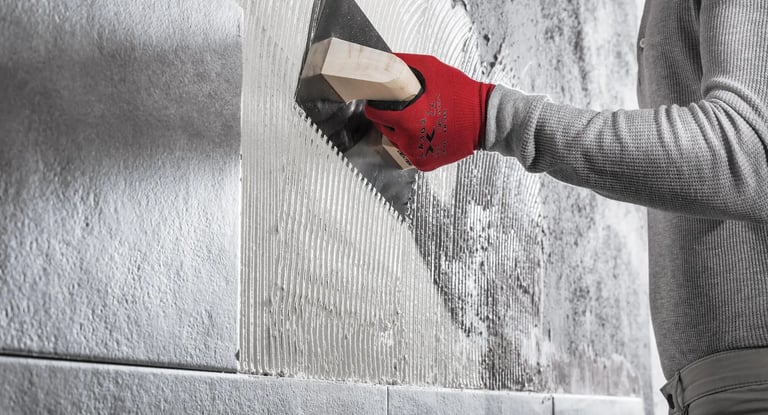
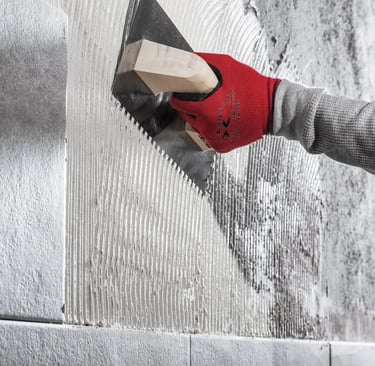
5. Notched spatula: the notched trowel is used to spread tile adhesive evenly on the floor.
6. Rubber hammer: the rubber mallet is useful for leveling tiles and ensuring good adhesion.
7. Tile cutter: if you need to cut tiles to fit the size of the floor, you can use a manual or electric tile cutter.
8. Spirit level: either a manual or electronic spirit level is important to check that the floor is perfectly level when laying tiles.
Laying procedures
Here is a series of steps to follow for proper installation of floor tiles:
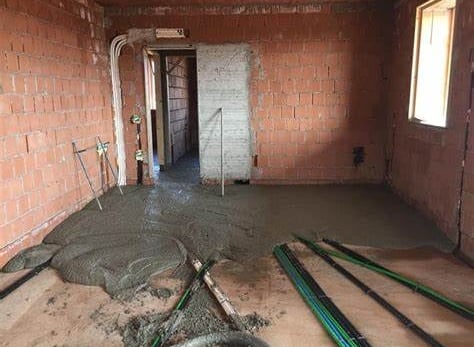
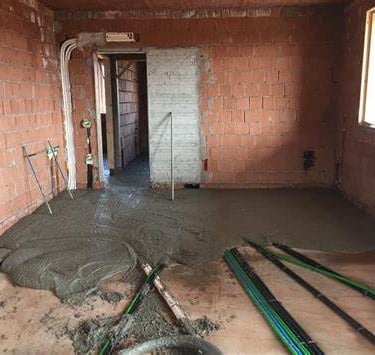
1. Floor preparation: make sure the floor is clean, smooth and free of cracks or unevenness. In the case of existing floors, remove any previous tiles or coatings. Check The height difference, the maximum acceptable height difference for laying tiles depends on several factors, including the type of tile, the size of the room, and the specifications of the subfloor. However, in general, it is advisable to maintain a maximum height difference of 5 mm per 2 meters of surface area. This means that if the surface on which the tiles are laid measures, for example, 4 meters in length, the maximum allowed height difference will be 10 mm. Here are some points to consider to ensure proper and even tile installation:
Leveling the Subfloor: Ensure that the subfloor is properly leveled and prepared before beginning tile installation. Any unevenness or irregularities should be corrected with suitable leveling materials.
Use of Appropriate Laying Spacers: Tile spacers are available in different sizes to suit various installation requirements. Spacer sizes can range from 1 mm to over 10 mm, depending on the type of tile, aesthetic preferences, and the size of the desired spacing. Here are some common sizes of tile spacers:
1 mm: 1 mm spacers are among the thinnest available on the market. They are often used to create a very small, unobtrusive joint between tiles, which is ideal for projects where a clean, modern look is desired without overly highlighting the joints.
2 mm: This size is another common option for creating a very small joint between tiles. It is slightly wider than a 1 mm spacer and offers a similar look, but with a slight emphasis on the joints.
3 mm: 3 mm spacers are often used to create a more prominent joint between tiles, which can help highlight the laying pattern or add a decorative element to the floor.
4 mm: This size is a popular choice for large tiles or for projects where a wider joint is desired to compensate for any irregularities in the substrate or for a specific aesthetic appearance.
5 mm and above: For some applications, especially for very large tiles or for projects where a rustic or handcrafted look is desired, wider spacers, such as those of 5 mm or more, can be used. These spacers create wide, well-defined joints between tiles. The choice of spacer size will depend on aesthetic preferences, the size and type of tiles used, and the desired overall appearance of the finished floor. It is always advisable to do some preliminary testing with different sizes of spacers to determine which will work best for your specific project.
Check during Laying: Regularly check the level and alignment of tiles during the laying process. It is advisable to use a spirit level To check that the tiles are laid evenly and without unevenness.
Correction of unevenness: In the event that unevenness occurs during installation, it is important to take prompt action to correct it. This may involve removing and re-laying the affected tiles or applying additional leveling material to correct the errors.
Follow Manufacturer's Guidelines: Always follow the instructions and guidelines provided by the manufacturer of the tiles and other materials used during the installation process. This will ensure proper and long-lasting installation. Keeping these tips in mind and maintaining careful control during the installation process will result in a uniform, high-quality floor with little or no unevenness.
2. Spread the glue: using a notched trowel, spread the tile glue evenly on the floor. Be sure to follow the manufacturer's instructions for proper application. Also, you must use suitable notched trowels here a brief explanation of both the trowels and the right glue to use: Notched trowels and types of tile glue are two crucial components in tile installation and can vary significantly depending on the specific needs of the project and the type of tile used. Here are some differences between notched trowels and types of tile glue:
Notched Spatulas:
Tooth Sizes: Notched trowels are available in various tooth sizes, which determine the thickness of the adhesive applied to the substrate. Tine sizes can range from small to large, depending on the size and format of the tiles.
Adhesive Distribution: Toothed trowels are used to evenly distribute the adhesive on the substrate before the tiles are installed. The size of the teeth determines the amount of adhesive applied and affects the adhesion of the tiles to the substrate.
Compatibility with Tile Size: It is important to select a notched trowel with tooth sizes that are appropriate for the format and size of the tiles. Trowels with larger teeth are suitable for larger tiles, while trowels with smaller teeth are ideal for smaller tiles or mosaics.
Types of Tile Glue:
Cementitious Glue: This type of glue is composed mainly of cement and sand, and is suitable for indoor and outdoor tile installation. Cementitious glues offer good adhesion and are suitable for large tiles and for surfaces where greater strength is required.
Acrylic Glue: Acrylic glues are more flexible than cementitious glues and are ideal for laying tiles on flexible surfaces or those subject to movement, such as heated floors or wood surfaces. They also offer greater resistance to weathering and moisture.
Epoxy Glue: Epoxy glues are particularly suitable for laying tile in areas prone to moisture, such as bathrooms and kitchens. They are resistant to water and stains and offer greater adhesion than other glue types. In summary, notched trowels are used to evenly distribute adhesive over the substrate, while the types of tile glue vary depending on the specific needs of the project, the type of tile, and the environment in which it will be installed. It is important to select the most appropriate trowel and glue for the size and format of the tiles, as well as the condition of the substrate and the installation environment.
3. Place the tiles: place the tiles on the glue, taking care to maintain an even distance between them using the spacing crosses. Use light pressure to adhere the tiles to the glue. There are several methods used to spread tile glue, or tile adhesive, during the laying process. Here are some of the most common methods:
Notched Trowel: This is the most traditional and widely used method. A notched trowel is used to evenly distribute the glue on the substrate. The notched trowel creates even grooves in the glue, ensuring even distribution of the adhesive. The size of the trowel's teeth will vary depending on the size and type of tile.
Double Gluing Method: This method involves applying a double strip of glue to the subfloor and back of the tiles. This ensures greater adhesion and stability of the tiles, especially in areas subject to moisture or ground movement.
Dot or Drip Method: In this method, glue is applied to the back of each tile in the form of small dots or drops. This method is particularly useful for small tiles or mosaics, where more control over adhesive application is needed. However, it requires more time and precision than the notched trowel method.
In summary, there are several methods for spreading adhesive behind tiles, each with specific advantages and disadvantages. It is important to select the most suitable method based on the characteristics of the project and the personal preferences of the installer.
4. Cut the tiles: if necessary, use a tile cutter to cut the tiles to fit the size of the floor. Measure carefully and mark the cut line before proceeding.
5. Tile leveling: use a rubber mallet to level the tiles and ensure an even surface. Periodically check the horizontality of the tiles using a level.
6. Removing spacing crosses: once the adhesive has dried, remove the spacing crosses and fill the spaces between the tiles with grout.
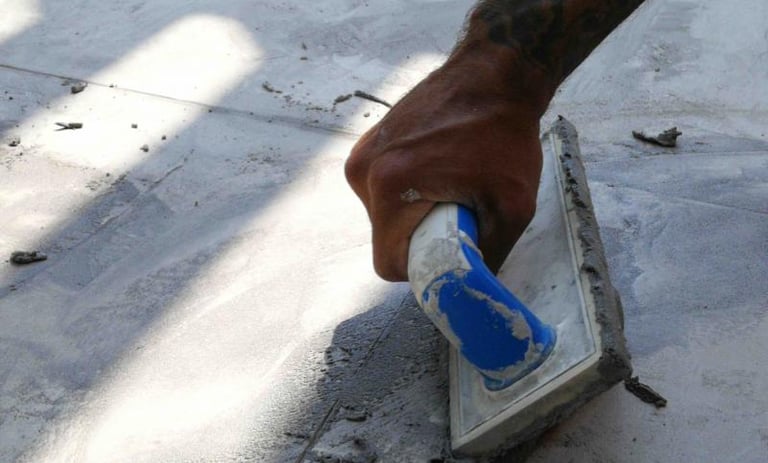
7. Running grout lines for a floor is an important step in the tile-laying process, as it not only improves the overall appearance, but also helps protect the tiles from moisture and dirt. Here is a step-by-step guide to making grout joints for a floor:
Materials needed: - Joint grout - Grout trowel - Bucket of water - Clean sponge or rag - Silicone grease (optional) - Grout sealant (optional)
Procedure:
Surface preparation: Before you start grouting joints, make sure the tiles and joints are clean and free of glue residue or dirt. Run a damp sponge or rag over the floor to remove any residue.
Preparing the grout: Follow the manufacturer's instructions carefully to prepare the grout. Generally, you'll need to mix the grout with water until you get a creamy consistency, making sure you don't leave any lumps.
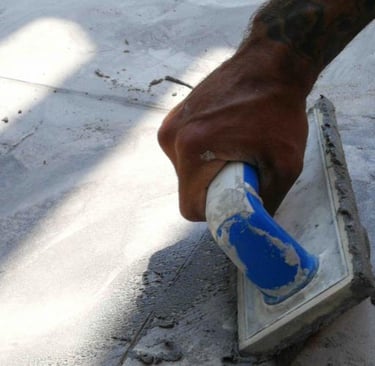
Applying the grout: Take a small amount of grout on the grout trowel and start spreading it on the joints, working diagonally across the joint lines. Be sure to fill the joints completely with grout, using the trowel to shave off the excess and make sure the joints are all evenly filled.
Removing excess grout: After filling all the joints, let the grout dry for a short time according to the manufacturer's instructions. Then, with a trowel or damp cloth, gently remove the excess grout from the surface of the tiles, making sure not to remove the grout from the joints.
Final cleaning: Once the grout is dry, use a clean sponge or rag to remove any grout residue that may have remained on the tile surface. Be sure to wipe the sponge or rag several times, avoiding removing grout from joints.
Optional: Grout Sealant: If you wish, you can apply a grout sealant after the grout is completely dry. The sealer will help protect the joints from moisture, dirt and stains. Be sure to follow the manufacturer's instructions for applying the sealer.
Complete drying: Let the joint grout dry completely according to the manufacturer's instructions before walking on the floor or using the area. By carefully following these steps, you will be able to do your floor joints effectively and achieve a clean, professional finished result.
Helpful Tips
Here are some valuable tips from a professional for successful tile laying:
1. Careful planning: Before you start laying, carefully plan the tile layout considering the size of the room, the desired laying pattern, and the layout of the tiles to avoid cuts and waste.
2. Subfloor preparation: Make sure the subfloor is clean, level and free of cracks or unevenness. Any problems should be resolved before beginning installation to ensure a stable and even surface.
3. Use high quality adhesives: Always choose high quality adhesives suitable for the type of tile and substrate. Skimping on materials can compromise the durability and stability of the floor over time.
4. Proper adhesive distribution: Use the notched trowel evenly to distribute the adhesive on the subfloor, making sure to create even grooves. This will help ensure good tile adhesion.
5. Using grout spacers: Use grout spacers to maintain consistent spacing between tiles. This will ensure an even and professional appearance of the finished floor.
6. Precise tile cutting: Use a high-quality tile cutter to cut tiles accurately and cleanly, avoiding chipping or breaking.
7. Checking for flatness: Use a level regularly during the installation process to ensure that tiles are laid evenly and that there are no unevenness or irregularities.
8. Constant cleaning: Keep the floor clean during the installation process, removing any residual glue or grout before it dries completely.
9. Make sure you have the right tools: Use the right tools for the job, including notched trowels, spirit levels, joint spacers and tile cutters. Investing in high-quality tools will make the installation process more efficient and ensure a better end result.
10. Follow the manufacturer's instructions: Finally, always follow the manufacturer's instructions for all materials used during the installation process, including adhesives, grout and sealants. This will ensure proper and long-lasting application of the materials.
Final conclusions.
Laying floor tiles may seem like a challenging task, but with the right preparation and attention to detail, satisfactory results can be achieved. By using the correct materials and tools and following recommended procedures, you can create a durable, quality floor. Remember to take the time to plan and prepare the work in advance to avoid costly mistakes when laying tiles.
Contact
info@prisciccolo.com