

Drywall installation guide
Find out how to make drywall creations
TUTORIAL
2/22/20245 min read
Mounting Plasterboard Wall: Complete Step-by-Step Guide
Introduction:
Gypsum board is a versatile and widely used material for making partitions, counterwalls, and ceilings. Its installation is relatively simple, but it requires attention and attention to detail to achieve an optimal result. In this comprehensive guide, we will outline step-by-step the different stages of installing a drywall, providing useful tips and technical information for each step.
.
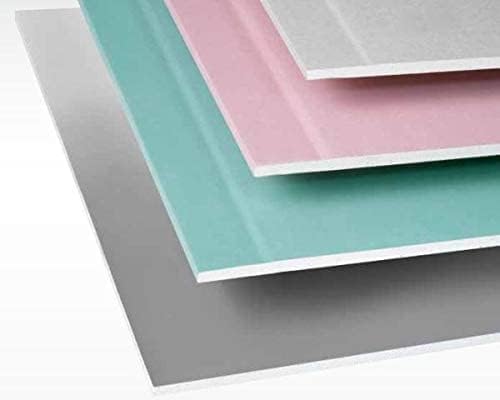
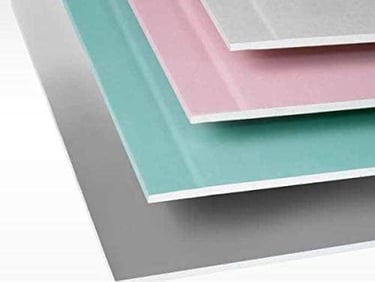
Types of drywall sheets:
There are different types of drywall sheets, each with specific characteristics to suit different needs:
Standard gypsum board (type A): the most common, used for interior walls in rooms with normal humidity.
Water-resistant gypsum board (type H1): moisture-resistant, ideal for bathrooms, kitchens and laundries.
Fireproof gypsum board (type F): offers greater fire resistance, suitable for garages, technical rooms and areas with fire hazards.
Impact-resistant gypsum board (type I): impact-resistant, recommended for impact-prone areas such as hallways and children's rooms.
.
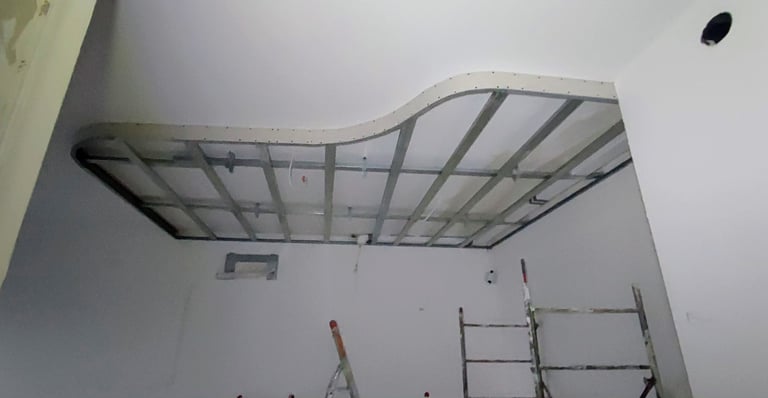
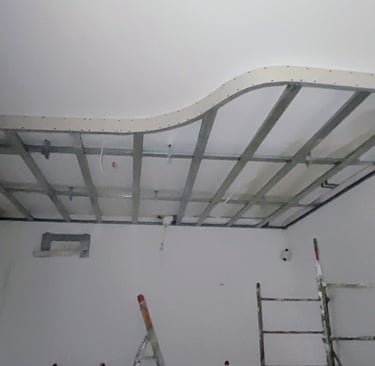
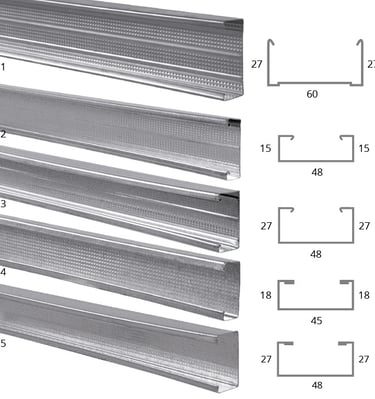
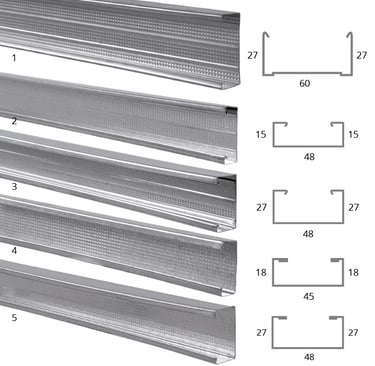
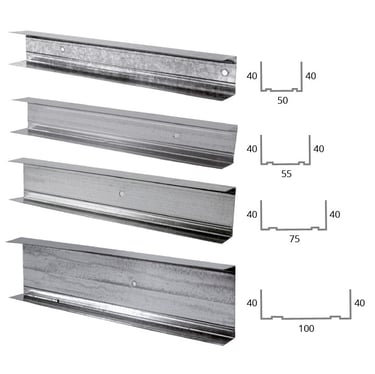
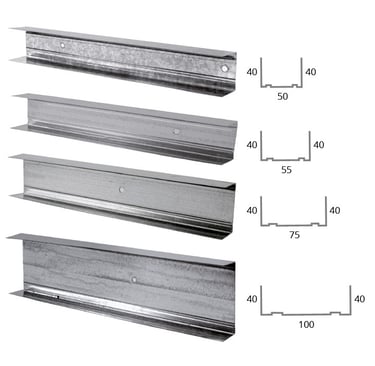
Uprights and rails:
Galvanized steel mullions and rails are used to make the wall frame. Uprights are the vertical profiles that form the framework of the wall, while rails are the horizontal profiles that attach the uprights to the floor and ceiling.
.
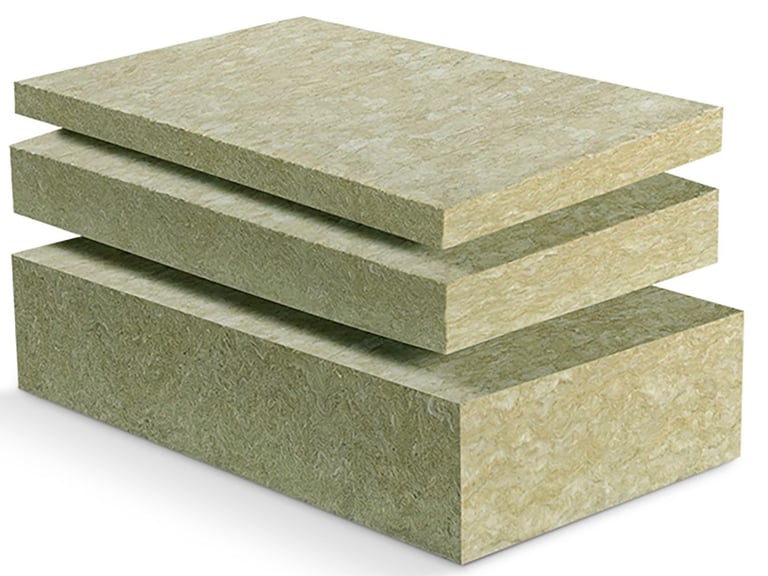
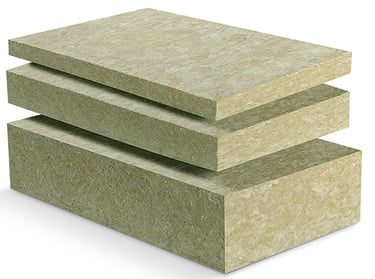
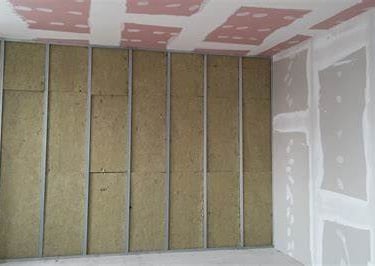
Rock wool:
Rock wool is a thermal and acoustic insulation material that is placed inside the plasterboard wall to improve living comfort. It is available in different thicknesses and densities, depending on specific needs.
Rock wool technical data:
Thermal conductivity: λ = 0.034 to 0.040 W/mK
Fire resistance: A1 (non-combustible)
Sound absorption: up to 60 dB
Density: 30 - 160 kg/m³
.
Equipment needed:
To mount a drywall, you will need:
Sander
Level
Spatula
Bucket
Whisk


.
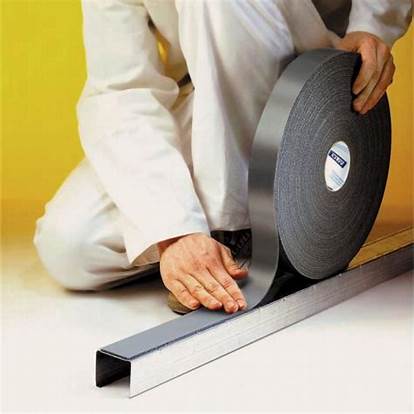
2. Attach the rails:
Attach the rails to the floor and ceiling using dowels and screws appropriate for the type of support, remembering to put double-sided tape underneath and the rails that acts as a gasket


.
1. Draw the reference lines:
Use the tape measure and bubble (level), otherwise given the prices that very good I would opt for a laser level, which helps you both in squaring and as a plumb, this will be used to draw reference lines on the floor, ceiling and adjacent walls, where the new wall will be placed.
.
Q2 finish transitions to provide plasterboard surfaces with minimal smoothness
A Q2 finish involves a seamless transition layer over a Q1 finish:
Apply joint compound over the top of the Q1
Finish to achieve a seamless transition from the joint area to the slab surface
Sanding may be required afterwards
Repeat the above on fasteners, corners and connections filled with joint compound
It is generally accepted that a Q2 finish is required unless clear arrangements are made between the contractor and the customer.
Q3 finish passes to provide extra smooth drywall surfaces
Applying a Q3 finish requires a wider finish over the Q2 finish, followed by a full gypsum board finish:
Apply a wider finish over finished surface Q2
Refinish the entire drywall surface to fill all pores
Sanding may be required afterwards
Q4 finishing step to deliver plasterboard coated with shaving
To achieve Q4, a full skim coat must be applied over a Q2 finish:
The skim coat must be at least 1 mm thick.
The skim coat must be applied over the entire surface of the drywall
Q4 requires only one more step on top of a Q2 finish. However, keep in mind that shaving is a challenging art to master, as it is necessary to provide a surface with a minimum amount of marks and traces. These should also be invisible under side lighting conditions. Therefore, we recommend a trial run for Q4-level projects, taking into consideration the expected lighting conditions of the decorated surface. Spread a coat of plasterboard skim coat with a trowel to fill and seal joints.
7. Sanding and finishing:
After the skim coat is completely dry, sand the surface with the sander to achieve a smooth and even finish.
Apply the desired paint or wallpaper.
A Q level of drywall finish specific to each surface decoration.
In the Q1 to Q4 classification for drywall finish, the lowest level is the most basic level of finish. Choose the highest Q level when you need the smoothest possible surfaces with high visual requirements.
Q1 for surfaces without decorative requirements
A Q1 drywall finish is sufficient when no decorative requirements apply. Q1 surfaces can be covered with tiles, slabs or plaster in thick layers.
Q2 for minimal surface smoothness
Q2 prepares gypsum board surfaces for textured wallpaper, textured paint and manually applied coats using lambskin or textured rollers, as well as thick top coats with a grain size greater than 1 mm.
Q3 when applying higher visual surface requirements.
Q3 prepares gypsum board surfaces for thin structured wall coatings and paints, as well as top coats with a grain size less than 1 mm.
Q4 prepares surfaces for the highest decorative standards
Q4 finish meets the highest visual surface requirements. It enables decoration with glossy wallpapers, paints or enamel layers, as well as stucco marble and similar finishes
Conclusions.
Drywall is a versatile material that allows for truly amazing creations, from simple partitions to bookcases, false ceilings and more. But how do you get started working with this material?
Safety first:
Regardless of the complexity of the work, safety is paramount. Always wear the proper PPE (Personal Protective Equipment), such as gloves, goggles and mask, to protect yourself from dust and debris.
Practice simple jobs:
Don't start with a complex project like a ceiling right away. Start with a small wall or, even better, a bookcase. That way, you can familiarize yourself with basic techniques and become familiar with the material.
The right equipment:
The list above is not exhaustive, but it provides a solid base to get you started. Depending on future projects, you may need specific tools such as a router or hacksaw. Don't worry, your "collection" of tools will gradually grow with your passion!
5. Attach the plasterboard sheets:
Screw the plasterboard sheets to the uprights with self-tapping screws specifically for plasterboard. Arrange the screws 20-30 cm apart.
3. Position the uprights:
Insert the uprights vertically inside the rails, with a distance of 60 cm from each other. Fasten them to the rails with self-tapping screws.
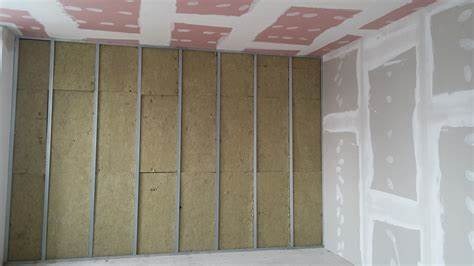
4. Install the rock wool:
Insert the rockwool panels inside the framing, making sure to completely fill the gaps.
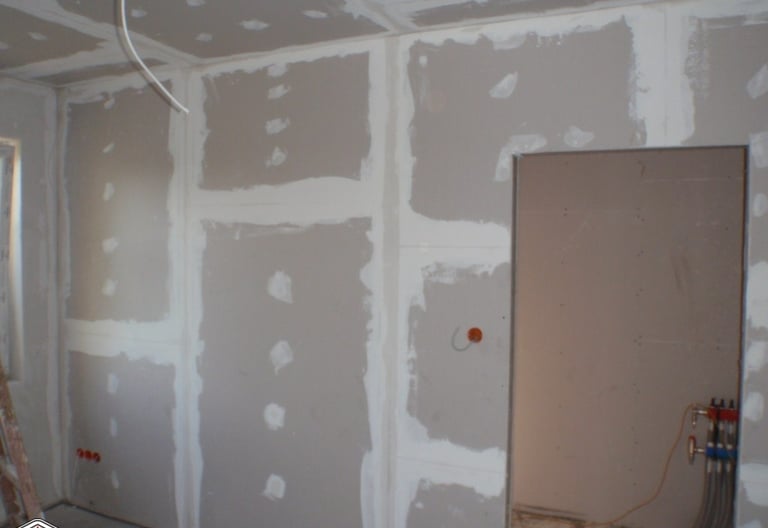
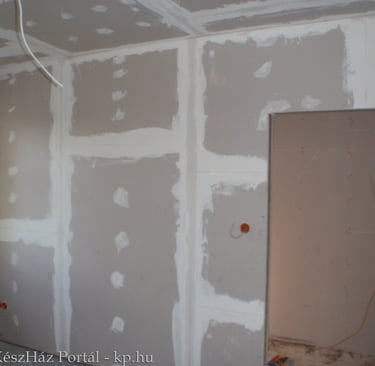
6. Seal the joints:
Apply paper tape or netting, on the joints between the slabs.
Before starting the grouting, it is necessary to decide which type of finishing to do, the classes are Q1-Q2-Q3-Q4 their meaning is as follows:
Q1 finishing steps to provide jointed plasterboard surfaces.
After assembling the gypsum board sheets, perform these steps to obtain a Q1 finish:
Apply joint compound
Apply tape over the joint compound
Cover the visible parts of the fasteners
Remove excess joint compound
Contact
info@prisciccolo.com